
hugo로 Github 블로그 구축
jekyll을 버리고 다시 만들기.
있으나 마나 관리도 안하던 블로그 버리고 새로 시작하고자 다시 만듭니다.
기왕 만드는거 멋있게 hugo도 한번 써보고. Github Actions도 써보고.
기존 컨텐츠 백업
기존 컨텐츠는 legacy 브랜치로 남겨두고
source에 orphan 브랜치(부모가 없는 브랜치)를 새로 만듭시다.
$ git clone actumn.github.io
$ cd actumn.github.io
$ git checkout -b legacy
$ git push origin legacy
$ git branch -d master
$ git checkout --orphan source
$ git rm -rf .
시작
이제 hugo 튜토리얼을 파봅시다
hugo 튜토리얼
hugo 설치
설치
제 환경은 우분투입니다. homebrew는 쓰고 싶지 않아요.
그래서 hugo레포 clone받아서 빌드합니다.
$ mkdir $HOME/src
$ cd $HOME/src
$ git clone https://github.com/gohugoio/hugo.git
$ cd hugo
$ go install --tags extended
apt-get은 상당히 낮은 버전으로 설치가 되기 때문에 추천하지 않습니다.
생성
설치가 완료되었으면 새로운 사이트를 시작합니다.
저는 actumn.github.io 에서 작업하고 있으므로 현재 디렉토리에 시작합니다
$ hugo new site ./ --force
Congratulations! Your new Hugo site is created in /home/actumn/repos/actumn.github.io/actumn.github.io.

Just a few more steps and you are ready to go:

1. Download a theme into the same-named folder.
   Choose a theme from https://themes.gohugo.io/, or
   create your own with the "hugo new theme <THEMENAME>" command.
2. Perhaps you want to add some content. You can add single files
   with "hugo new <SECTIONNAME>/<FILENAME>.<FORMAT>".
3. Start the built-in live server via "hugo server".

Visit https://gohugo.io/ for quickstart guide and full documentation.
테마 고르기
여기에서 테마들을 찾아볼 수 있습니다.
https://github.com/kakawait/hugo-tranquilpeak-theme
저는 이 테마가 마음에 들었습니다.
$ git submodule add https://github.com/kakawait/hugo-tranquilpeak-theme.git themes/tranquilpeak
$ echo 'theme = "tranquilpeak"' >> config.toml
글 쓰기
이제 글을 써 볼까요
$ hugo new post/my-first-post.md
그러면
---
title: "My First Post"
date: 2020-03-22T22:56:36+09:00
draft: true
---
대략 이렇게 나올겁니다.
이제 마크다운으로 컨텐츠를 작성하면 됩니다.
여기서 draft: true 일 경우 빌드할때 제외됩니다. 글을 다 작성하면 draft 옵션을 삭제합시다.
테스트
잘 되는지 테스트를 해봅시다.
$ hugo server -D
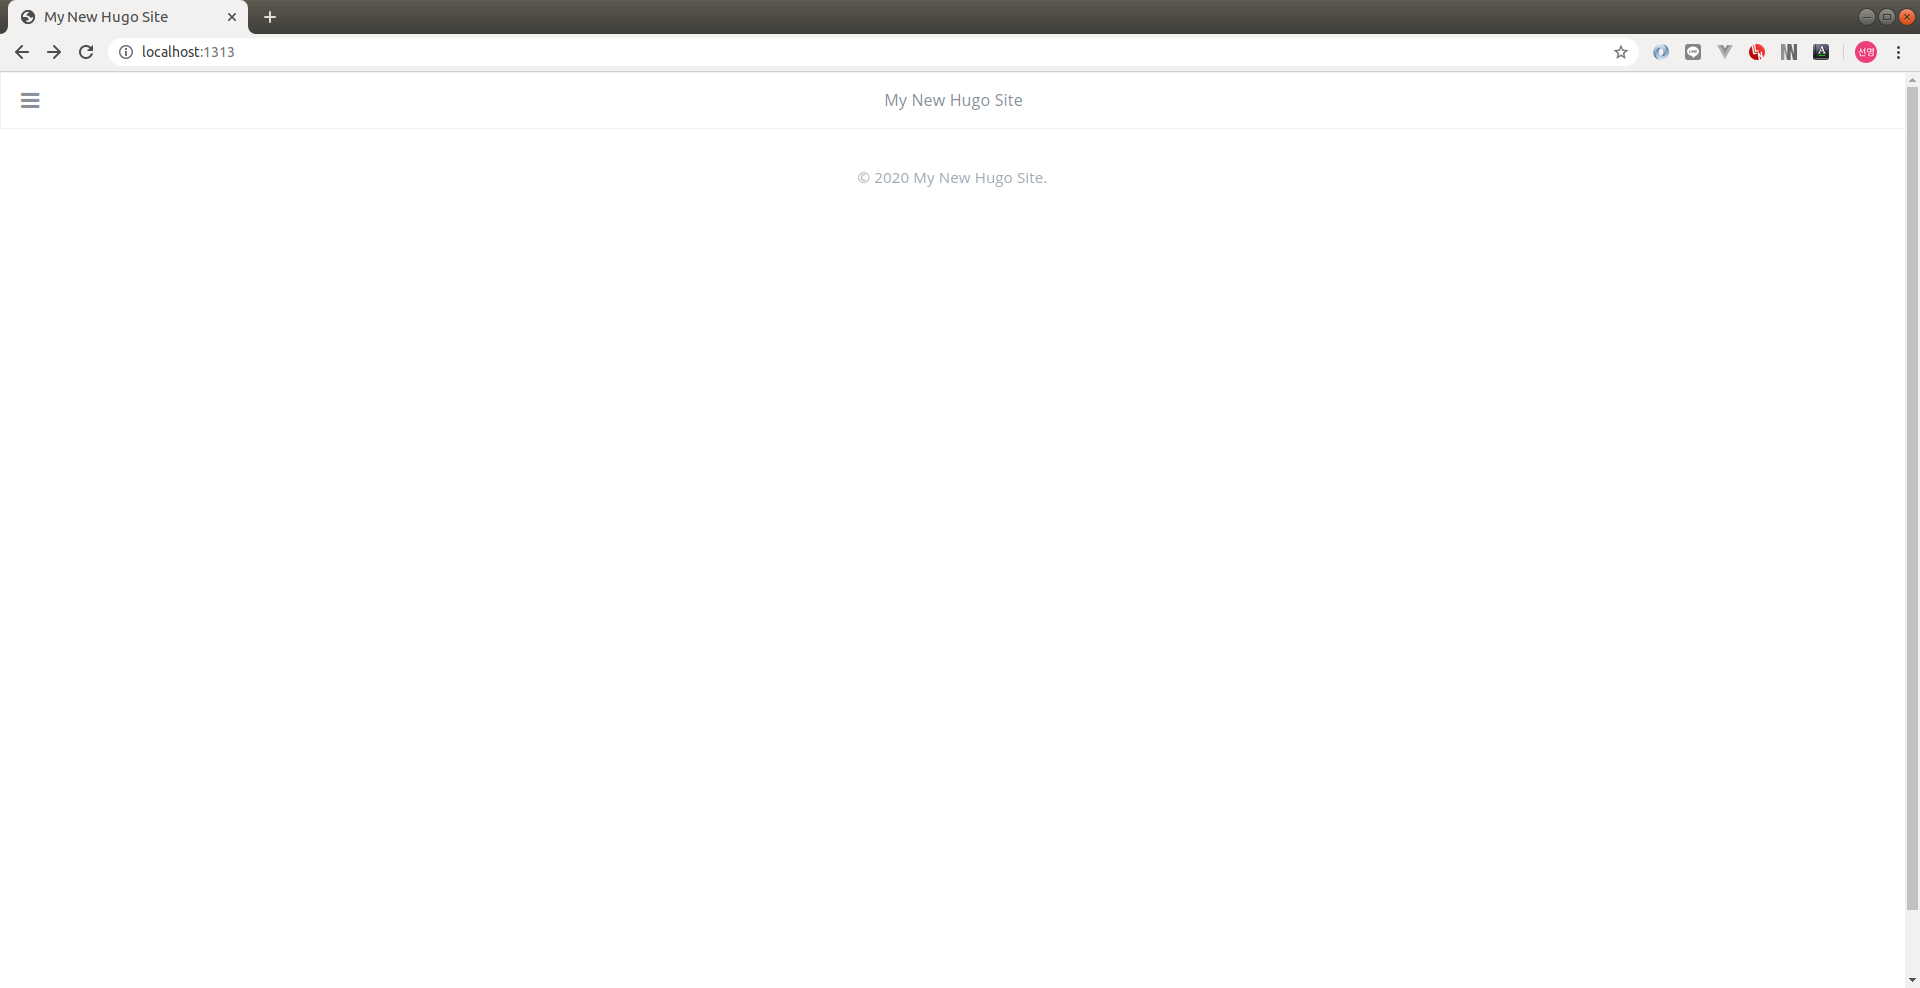 여기까지만 하면 사이트는 보이는데 작성한 글은 안보이네요.
여기서부턴 theme별로 config를 만져줘야 합니다.
config.toml
config를 만져줍시다.
제가 고른 theme의
유저 가이드와 example site config 를 참조해서 적당히 만져보겠습니다.
baseURL = "actumn.github.io"
languageCode = "en-us"
defaultContentLanguage = "ko-kr"
title = "Actumn (SunMyeong Lee)"
theme = "tranquilpeak"
disqusShortname = "hugo-tranquilpeak-theme"
# googleAnalytics = "UA-123-45"
paginate = 7
canonifyurls = true

[permalinks]
  post = "/:year/:month/:slug/"

[taxonomies]
  tag = "tags"
  category = "categories"
  archive = "archives"

[author]
  name = "SunMyeong Lee"
  bio = "I love _language learning_, _development_, _open source_"
  job = "Student"
  location = "Seoul, Korea"
  # Your Gravatar email. Overwrite `author.picture` everywhere in the blog
  gravatarEmail = "actumn814@gmail.com"
  # Your profile picture
  # Overwritten by your gravatar image if `author.gravatarEmail` is filled
  picture = "https://cdn1.iconfinder.com/data/icons/ninja-things-1/1772/ninja-simple-512.png"
  # Your Twitter username without the @. E.g : thibaudlepretre
  # twitter = "thibaudlepretre"
  # Your google plus profile id. E.g : +ThibaudLepretre or 114625208755123718311
  # googlePlus = "+ThibaudLepretre"

# Menu Configuration
[[menu.main]]
  weight = 1
  identifier = "home"
  name = "Home"
  pre = "<i class=\"sidebar-button-icon fa fa-lg fa-home\"></i>"
  url = "/"
[[menu.main]]
  weight = 2
  identifier = "categories"
  name = "Categories"
  pre = "<i class=\"sidebar-button-icon fa fa-lg fa-bookmark\"></i>"
  url = "/categories"
[[menu.main]]
  weight = 3
  identifier = "tags"
  name = "Tags"
  pre = "<i class=\"sidebar-button-icon fa fa-lg fa-tags\"></i>"
  url = "/tags"
[[menu.main]]
  weight = 4
  identifier = "archives"
  name = "Archives"
  pre = "<i class=\"sidebar-button-icon fa fa-lg fa-archive\"></i>"
  url = "/archives"
[[menu.main]]
  weight = 5
  identifier = "about"
  name = "About"
  pre = "<i class=\"sidebar-button-icon fa fa-lg fa-question\"></i>"
  url = "/#about"

[[menu.links]]
  weight = 1
  identifier = "github"
  name = "GitHub"
  pre = "<i class=\"sidebar-button-icon fa fa-lg fa-github\"></i>"
  url = "https://github.com/actumn"
#[[menu.links]]
#  weight = 2
#  identifier = "stackoverflow"
#  name = "Stack Overflow"
#  pre = "<i class=\"sidebar-button-icon fa fa-lg fa-stack-overflow\"></i>"
#  url = "https://stackoverflow.com/users/636472/kakawait"

#[[menu.misc]]
#  weight = 1
#  identifier = "rss"
#  name = "RSS"
#  pre = "<i class=\"sidebar-button-icon fa fa-lg fa-rss\"></i>"
#  url = "/index.xml"

[params]
  # Customize date format use to render blog post date, categories and other
  # You must use date format used by Go Time package https://golang.org/pkg/time/
  # Months (not work with short month like "jan", "feb", etc) are translated if translation exists on i18n folders
  # Default format is: January 2, 2006
  # dateFormat = "2 January 2006"

  # Global keywords configuration. Following keywords will be add to every pages
  # keywords = ["development", "next-gen"]

  # Syntax highlighter, possible choice between: "highlight.js" (recommanded) and "prism.js" (experimental)
  # You can comment it to disable syntax highlighting
  syntaxHighlighter = "highlight.js"

  # Hide sidebar on all article page to let article take full width to improve reading, and enjoy wide images and cover images. (true: enable, false: disable)
  clearReading = false

  # Define categories will create hierarchy between parents: `categories = ["foo", "bar"]` will consider "bar" a sub-category of "foo".
  # If false it will flat categories.
  hierarchicalCategories = true

  description = "Hugo tranquilpeak theme demo"

  # Customization
  # Define the behavior of the sidebar
  # 1: Display extra large sidebar on extra large screen, large sidebar on large screen,
  #    medium sidebar on medium screen and header bar on small screen and
  # extra large sidebar is swiped on extra large screen and large sidebar on all lower screen (default)
  # 2: Display large sidebar on large screen, medium sidebar on medium screen and
  #    header bar on small screen and large sidebar is swiped
  # 3: Display medium sidebar on large and medium screen and header bar on small screen and
  #    medium sidebar is swiped
  # 4: Display header bar on all screens, extra large sidebar is swiped on extra large screen and
  #    large sidebar is swiped on all lower screens
  # 5: Display header bar on all screens and large sidebar is swiped on large screen
  # 6: Display header bar on all screens and medium sidebar is swiped
  sidebarBehavior = 1

  # Your blog cover picture. I STRONGLY recommend you to use a CDN to speed up loading of pages.
  # There is many free CDN like Cloudinary or you can also use indirectly
  # by using services like Google Photos.
  # Current image is on AWS S3 and delivered by AWS CloudFront.
  # Otherwise put your image, for example `cover.jpg` in folder `static/images/`,
  # and use relative url : `images/cover.jpg`
  coverImage = "images/cover-v1.2.0.jpg"

  # Display an image gallery at the end of a post which have photos variables (false: disabled, true: enabled)
  imageGallery = true

  # Display thumbnail image of each post on index pages (false: disabled, true: enabled)
  thumbnailImage = true
  # Display thumbnail image at the right of title in index pages (`right`, `left` or `bottom`)
  # Set this value to `right` if you have old posts to keep the old style on them
  # and define `thumbnailImagePosition` on a post to overwrite this setting
  thumbnailImagePosition = "bottom"
  # Automatically select the cover image or the first photo from the gallery of a post if there is no thumbnail image as the thumbnail image
  # Set this value to `true` if you have old posts that use the cover image or the first photo as the thumbnail image
  # and set `autoThumbnailImage` to `false` on a post to overwrite this setting
  autoThumbnailImage = true

  # Your favicon path, default is "/favicon.png"
  # favicon = "/favicon.png"

  # Header configuration
  # The link at the right of the header is customizable
  # You can add a link (as an icon) at the right of the header instead of the author's gravatar image or author's picture.
  # By default, author's gravatar or author's picture is displayed.
  #     url: /#search
  #     icon: search
  #     class: st-search-show-outputs

  # Display `Next` on left side of the pagination, and `Prev` on right side one.
  # If you set this value to `true`, these positions swap.
  # swapPaginator = true

  # Custom CSS. Put here your custom CSS files. They are loaded after the theme CSS;
  # they have to be referred from static root. Example
  # [[params.customCSS]]
  #   href = "css/mystyle.css"

  # Custom JS. Put here your custom JS files. They are loaded after the theme JS;
  # they have to be referred from static root. Example
  # [[params.customJS]]
  #   src = "js/myscript.js"

  # Sharing options
  # Comment and uncomment to enable or disable sharing options
  # If you wanna add a sharing option, read user documentation :
  # Tranquilpeak configuration > Theme configuration > sharing-options
  [[params.sharingOptions]]
    name = "Facebook"
    icon = "fa-facebook-official"
    url = "https://www.facebook.com/sharer/sharer.php?u=%s"

  #[[params.sharingOptions]]
  #  name = "Twitter"
  #  icon = "fa-twitter"
  #  url = "https://twitter.com/intent/tweet?text=%s"

  #[[params.sharingOptions]]
  #  name = "Google+"
  #  icon = "fa-google-plus"
  #  url = "https://plus.google.com/share?url=%s"

  [params.header.rightLink]
    class = ""
    icon = ""
    url = "/#about"

  # Customize link of author avatar in sidebar
  # [params.sidebar.profile]
  #   url = "/#about"

  # Customize copyright value "© 2017 <CUSTOMIZATION>. All Rights Reserved"
  # [params.footer]
  #   copyright = "<a href=\"https://github.com/kakawait\">kakawait</a>"
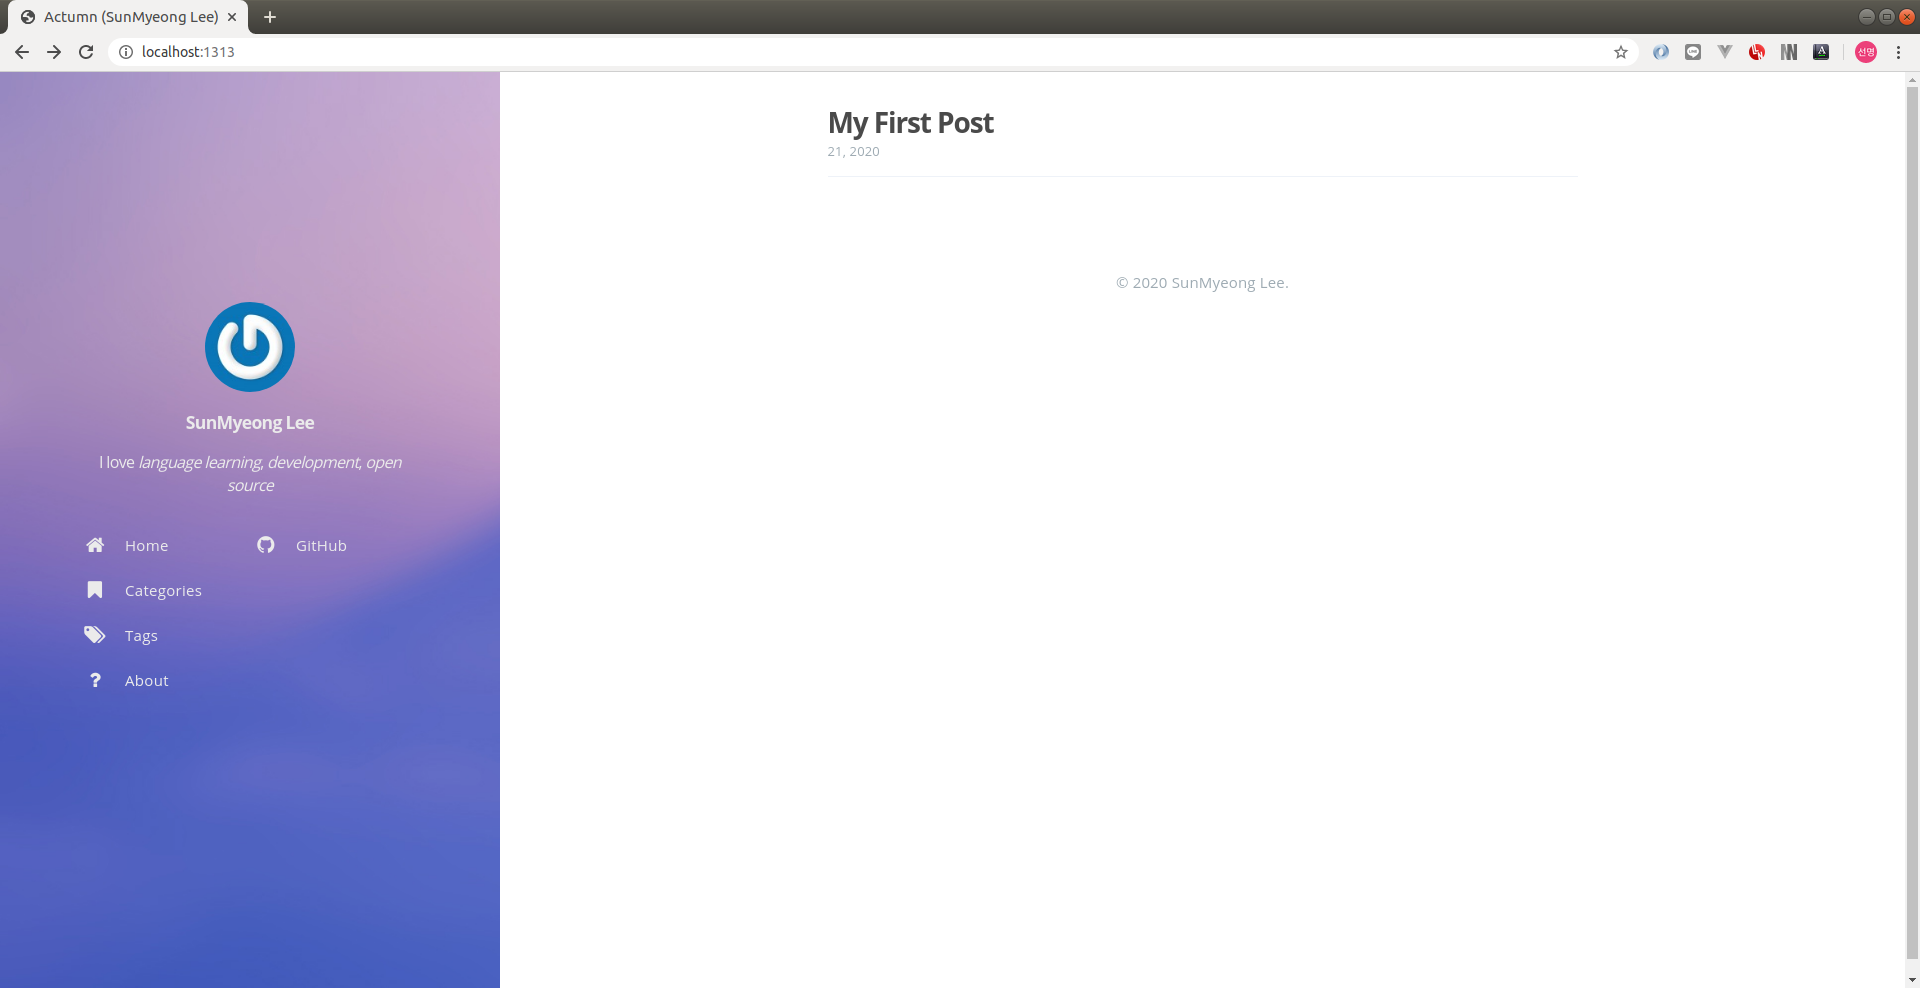
이제 다시 실행을 해 보면
hugo server -D
짜잔
빌드
이제 readme로 html 코드를 만들어봅시다.
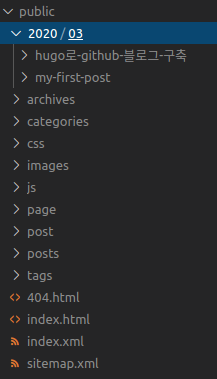
hugo -D
그러면 public이라는 폴더에 컨텐츠가 생성됩니다.
하지만 빌드는 github actions로 할거에요. 넘어갑시다.
Github Actions
이제 github에 올립시다.
$ git push origin source
아까 했던 빌드, 그리고 배포는 github actions로 합니다.
자세한 바는 https://github.com/peaceiris/actions-hugo 에 안내되어 있습니다.
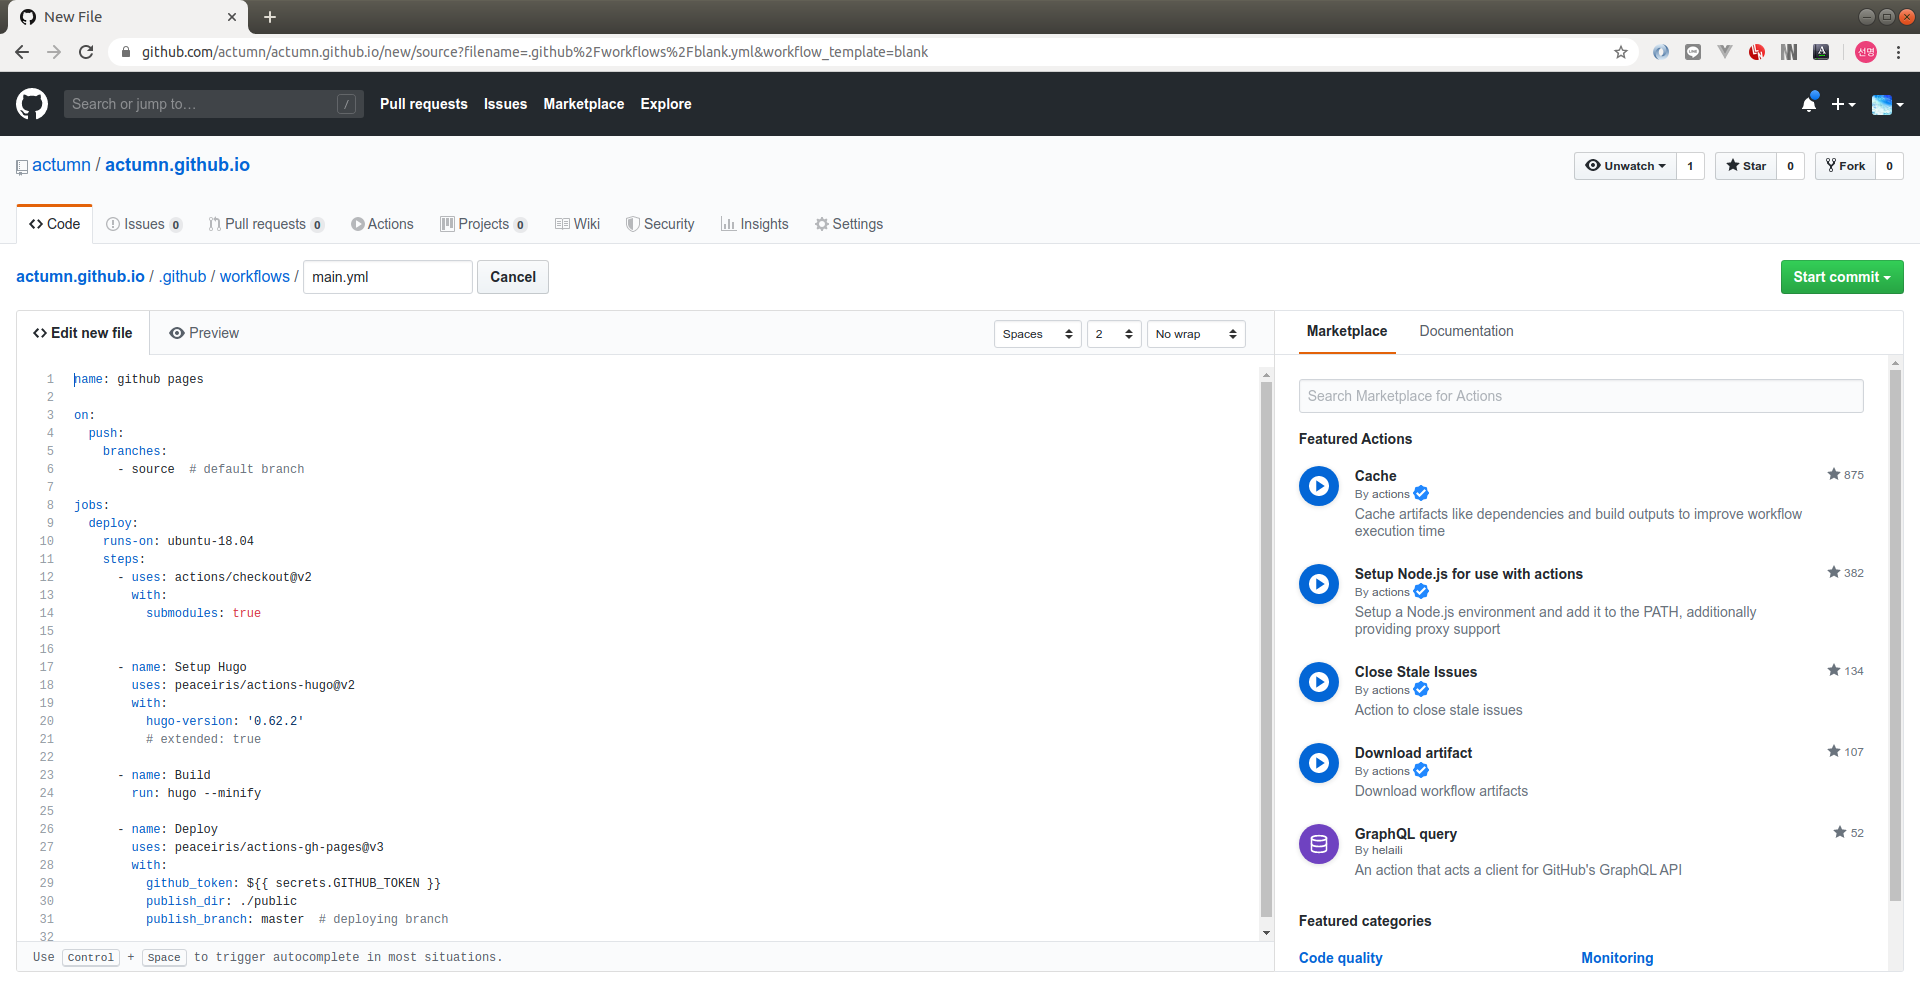
Github 화면에서 github actions -> new workflow 하고 아래처럼 yml을 구성합시다.
main.yml
name: github pages

on:
  push:
    branches:
      - source

jobs:
  deploy:
    runs-on: ubuntu-18.04
    timeout-minutes: 10
    steps:
      - uses: actions/checkout@v2
        with:
          submodules: true

      - name: Setup Hugo
        uses: peaceiris/actions-hugo@v2
        with:
          hugo-version: '0.62.2'
          # extended: true

      - name: Build
        run: hugo --minify

      - name: Deploy
        uses: peaceiris/actions-gh-pages@v3
        with:
          github_token: ${{ secrets.GITHUB_TOKEN }}
          publish_dir: ./public
          publish_branch: master  # deploying branch
확인
이제 Github 빌드를 확인해봅시다.
잘 됩니다. https://actumn.github.io 에도 잘 배포되었습니다.
마무리
휴. 글 하나 쓰니 뿌듯합니다.
이제 똥글 열심히 싸겠습니다.
